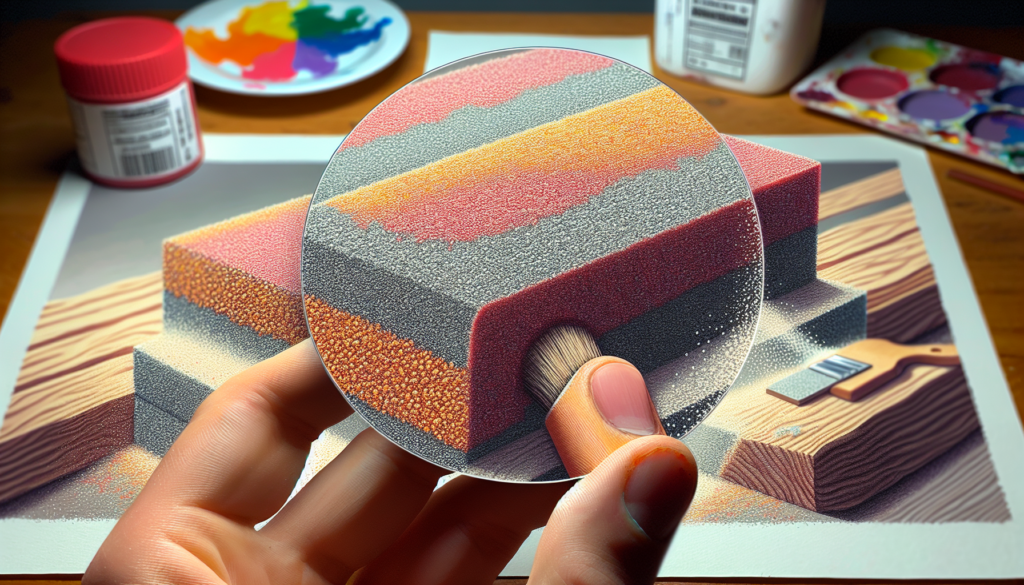
So you’ve just finished painting a beautiful piece of art using acrylic paint, but now you’re wondering if you can sand it. Well, good news! You can indeed sand acrylic paint, and it’s a great way to achieve a smooth and flawless finish. By sanding the surface, you can remove any imperfections, such as brush strokes or uneven texture, and create a polished look. However, it’s important to know the right techniques and tools to use, as aggressive sanding can damage the paint. In this article, we’ll guide you through the process of sanding acrylic paint, ensuring you achieve the desired result without compromising your masterpiece.
Can You Sand Acrylic Paint
Have you ever wondered if you can sand acrylic paint? Well, the answer is yes! Sanding acrylic paint is possible and can be a helpful technique in various situations. Whether you are a professional artist looking to achieve a smoother finish on your artwork or a DIY enthusiast wanting to refinish furniture, sanding acrylic paint can be a valuable skill to have. In this article, we will explore the basics of acrylic paint, reasons why you might want to sand it, considerations before sanding, the tools and materials you will need, techniques for sanding, and alternative methods to achieve the desired effect. So, let’s dive right in and discover how sanding acrylic paint can be an excellent addition to your artistic or DIY repertoire.
What is Acrylic Paint
Before we delve into the intricacies of sanding acrylic paint, it’s essential to understand what acrylic paint is. Acrylic paint is a versatile and widely used medium, favored by artists, craftsmen, and hobbyists alike. It consists of pigment suspended in an acrylic polymer emulsion. This composition gives acrylic paint its water-based nature, quick-drying properties, and the ability to adhere to a wide range of surfaces. Acrylic paint offers vibrant colors, excellent coverage, and the flexibility to create various textures and finishes.
Why Would You Want to Sand Acrylic Paint
Now that we have a basic understanding of acrylic paint let’s explore why you might want to sand it. Sanding acrylic paint can serve several purposes, depending on your project and desired outcome. Here are a few common reasons why sanding acrylic paint can be beneficial:
-
Smoothing the Surface: Acrylic paint, although versatile, can sometimes leave a slightly textured or uneven finish. Sanding allows you to smooth out those imperfections and create a flawless surface.
-
Blending Layers: If you work with multiple layers of acrylic paint, sanding can be a helpful technique to blend these layers seamlessly. By lightly sanding the topmost layer, you can create a smooth transition between colors or achieve a particular artistic effect.
-
Preparing for Repainting: If you plan to repaint over acrylic paint, sanding can help create a better surface for adhesion. By sanding the existing paint lightly, you can remove any shine or roughness, making it easier for the new paint to adhere properly.
-
Restoration Projects: If you are working on a furniture restoration project, sanding acrylic paint can help you remove any existing paint layers, prepare the surface for refinishing, and create a smooth base for new paint or finishes.

Considerations Before Sanding Acrylic Paint
Before you grab your sandpaper and start sanding away, there are a few crucial considerations to keep in mind. These factors will ensure that you achieve the best results and minimize the risk of damaging your artwork or surface:
-
Dryness: It is essential to allow your acrylic paint to dry completely before attempting to sand it. This ensures that the paint has cured and hardened sufficiently, making it easier to sand without smearing or damaging the surface.
-
Thickness: Consider the thickness of your acrylic paint layer. If the paint layer is too thin, sanding may result in removing the paint altogether. Conversely, if the paint layer is too thick, sanding may require more time and effort. Understanding the thickness of your paint layer will help you approach sanding appropriately.
-
Artistic Intent: Consider your artistic intent and the effect you wish to achieve through sanding. Determine whether you want a subtly textured finish or a completely smooth surface. This will impact the grit of sandpaper you choose and the sanding technique you employ.
Tools and Materials Needed
Now that you’re aware of the considerations, let’s gather the tools and materials you’ll need for sanding acrylic paint:
-
Sandpaper: Look for fine-grit sandpaper in the range of 220 to 400 grit. Fine-grit sandpaper will allow you to sand gently without removing too much paint or damaging the surface.
-
Sanding Block: A sanding block provides a stable and even surface for sanding. It helps to distribute pressure evenly and prevents finger marks or uneven sanding.
-
Water (if wet sanding): If you choose to wet sand your acrylic paint, you will need a container of clean water nearby. Wet sanding can help prevent the sandpaper from clogging and create a smoother finish.
-
Cleaning Supplies: Have a lint-free cloth or sponge available to gently clean the surface before and after sanding. This will remove any dust, residue, or debris that may interfere with the sanding process.
-
Mask and Safety Equipment: Although sanding acrylic paint is relatively safe, it is advisable to wear a mask, safety goggles, and gloves to protect yourself from inhaling dust particles and to prevent any potential skin irritation.

Preparing the Surface
Before you begin sanding, it is crucial to prepare the surface properly. Here are a few steps to follow:
-
Clean the Surface: Use a lint-free cloth or sponge to clean the surface of any dust, dirt, or grease. This will ensure that the sandpaper achieves maximum contact with the paint layer.
-
Test in an Inconspicuous Area: If you are unsure about the paint’s compatibility with sanding or how the surface will react, perform a test in a small, inconspicuous area. This will allow you to assess the outcome and determine if any adjustments are necessary.
-
Protect Surrounding Areas: If you are working on a specific section of a larger surface, consider using painter’s tape or plastic sheeting to protect the surrounding areas from accidental sanding or damage.
Sanding Techniques for Acrylic Paint
When it comes to sanding acrylic paint, there are two primary techniques to consider: wet sanding and dry sanding. Each technique has its advantages and is suitable for different situations.
Wet Sanding vs Dry Sanding
Wet sanding is a technique where water is used to lubricate the sandpaper and prevent dust buildup. This method can result in a smoother finish, reduce the risk of scratches, and provide better control over the sanding process. Dry sanding, on the other hand, involves sanding the paint layer without the use of water. Dry sanding can be useful when working on smaller areas or when water is not feasible, such as when sanding vertical surfaces. Ultimately, the choice between wet sanding and dry sanding depends on personal preference, the size of the project, and the desired outcome.
Steps to Sand Acrylic Paint
Now that you understand the techniques, let’s walk through the step-by-step process of sanding acrylic paint:
-
Choose the Grit: Begin by selecting the appropriate grit sandpaper based on your desired outcome. Lower grit (220 to 320) sandpaper is suitable for removing paint or creating a textured finish, while higher grit (360 to 400) sandpaper is ideal for achieving a smoother surface.
-
Start Sanding: Attach the sandpaper to a sanding block or fold it into a manageable size. Begin sanding the acrylic paint gently, using even strokes and applying minimal pressure. Work in one direction to maintain consistency.
-
Check Progress: Periodically stop and assess your progress. Wipe away any dust or debris with a clean cloth to examine the surface. If necessary, adjust the sanding technique, change to a finer grit, or switch to wet sanding if desired.
-
Wet Sanding (Optional): If you decide to wet sand, dip the sandpaper in clean water and sand the acrylic paint using the same gentle strokes as before. Keep the sandpaper and surface wet during the process to prevent scratches or damage. Rinse the surface with water and wipe it dry when finished.
-
Clean the Surface: After sanding, clean the surface again using a damp cloth to remove any dust or residue. This will ensure a clean surface for any subsequent painting or finishing.
After Sanding Care
After you have successfully sanded your acrylic paint, it’s essential to take proper care of the surface. Here are a few tips to ensure optimal results:
-
Remove Dust: Before proceeding with any further steps, thoroughly remove any dust particles left behind from sanding. Use a lint-free cloth or a vacuum cleaner with a brush attachment to gently remove the dust.
-
Repainting or Finishing: If you are planning to repaint or apply a finish to the sanded surface, ensure that the area is completely dry and dust-free before proceeding. Follow the manufacturer’s instructions for the specific paint or finish you are using.
-
Protective Measures: Consider using a clear protective coat, such as varnish or acrylic sealer, to protect the sanded surface and enhance its longevity. This will ensure that your artwork or piece of furniture remains in pristine condition.
Alternative Methods to Sand Acrylic Paint
While sanding is a reliable method for achieving the desired finish on acrylic paint, there are alternative techniques you can explore:
-
Buffing and Polishing: Instead of sanding, you can opt to buff and polish your acrylic paint using specialized polishing compounds and a soft cloth. This technique is particularly useful for restoring the shine to faded or dull paint surfaces.
-
Chemical Paint Strippers: If you need to remove the acrylic paint entirely, you can use chemical paint strippers. These products effectively dissolve the paint, making it easier to remove. However, exercise caution and follow the manufacturer’s instructions carefully when working with paint strippers.
-
Heat Gun: In certain situations, the use of a heat gun can be an alternative to sanding. By applying controlled heat to the paint surface, you can soften the paint and scrape it away. However, be mindful of the heat exposure duration and maintain a safe distance from the surface to prevent any damage.
In conclusion, the ability to sand acrylic paint is a valuable skill for artists and DIY enthusiasts alike. With the right tools, preparation, and technique, you can achieve a smooth and flawless surface, blend layers seamlessly, or prepare for repainting or restoration. Remember to consider the necessary precautions, choose the appropriate sanding technique, and take care of the surface after sanding. And if sanding is not the ideal method for your project, explore alternative approaches like buffing, chemical paint strippers, or heat guns. Happy sanding and enjoy creating your masterpiece or transforming that old furniture!