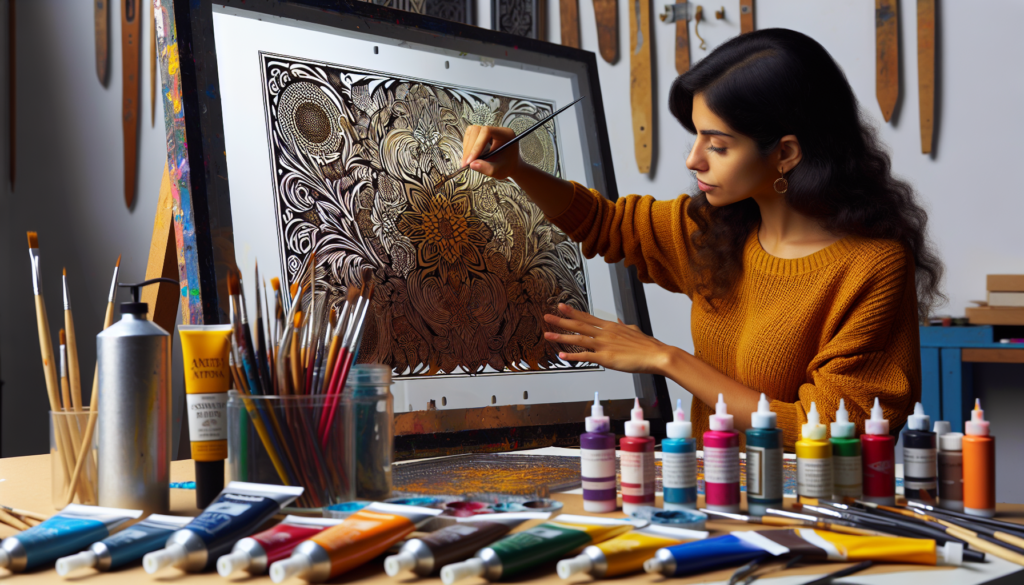
Have you ever wanted to add a pop of color to your engraved acrylic creations? Look no further! In this article, you will learn the step-by-step process of paint filling engraved acrylic to enhance its beauty and make your designs stand out. Whether you are a beginner or an experienced acrylic artist, this guide will provide you with all the tips and tricks you need to achieve a professional and vibrant finish. So grab your paints and let’s get creative!

Preparing the Acrylic
Before you start painting, it’s important to properly prepare the surface of the acrylic. Begin by cleaning the surface to remove any dust or debris that may be present. Use a soft, lint-free cloth or a mild detergent to gently wipe down the acrylic. Be sure to dry it thoroughly before moving on to the next step.
Once the surface is clean, it’s a good idea to mask off the area around the engraving. This will help prevent any accidental paint spills or mistakes. Use painter’s tape to carefully cover the areas surrounding the engraving, making sure to create clean, crisp edges.
After masking off the area, you may want to consider sanding the engraving. This can help improve the adhesion of the paint to the surface of the acrylic. Use a fine-grit sandpaper and gently sand the engraved area. Be sure to remove any sanding residue before proceeding to the next step.
Choosing the Right Paint
When it comes to selecting the right paint for your acrylic project, there are a few factors to consider. Firstly, it’s important to choose acrylic paint that is suitable for your specific project. Look for paint that is labeled as suitable for use on acrylic surfaces.
Another factor to consider is the opacity of the paint. Opacity refers to how well the paint covers the surface. If you want a solid and opaque filled engraving, choose a paint with high opacity. If you prefer a more translucent look, opt for a paint with lower opacity.
In addition to opacity, it’s crucial to evaluate the paint adhesion. Look for paint that is specially formulated for use on smooth surfaces like acrylic. This will ensure that the paint adheres well and doesn’t peel or chip easily.
Applying the Paint
Once you have chosen the right paint, it’s time to apply it to the engraved acrylic. There are a few different techniques you can use depending on your preference and the desired outcome.
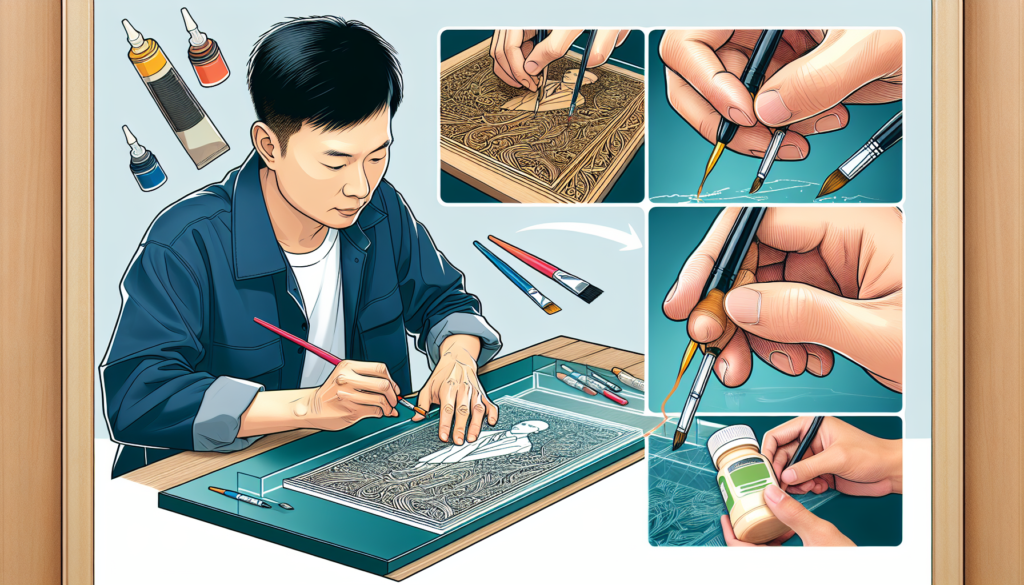
Using a paintbrush is a popular method for paint filling engraved acrylic. Dip your paintbrush into the paint and carefully fill in the engraved areas. Use smooth, even strokes to ensure an even application. This technique allows for more control and precision.
If you prefer a more precise and detailed approach, you can use a paint marker. These markers come with a fine tip, allowing you to easily fill in the engraved areas. Simply squeeze the marker gently to release the paint and carefully fill in the design.
In some cases, you may need to remove excess paint from the surface. A paint scraper can be a handy tool for this purpose. Gently scrape away any excess paint, being careful not to scratch the acrylic.
Techniques for Paint Filling
There are various techniques you can use for paint filling engraved acrylic, depending on the effect you want to achieve.
Direct filling is the most common technique, where you directly fill the engraving with paint to create a solid color.
Dry brushing involves using a dry brush with a minimal amount of paint to lightly brush over the engraved areas. This technique creates a more subtle and textured look.
Two-tone filling is achieved by filling the engraved areas with two different colors, creating a contrasting effect.
For a gradient filling, start by filling the bottom of the engraving with a darker color and gradually blend it into a lighter color as you move upward. This technique adds depth and dimension to the design.

Achieving a Smooth Finish
To achieve a smooth finish on your painted acrylic, it’s important to follow a few additional steps.
Applying multiple coats of paint is key to achieving an even and vibrant color. Allow each coat to dry completely before applying the next one. This will help build up the color and create a more professional-looking finish.
Using a primer before applying the paint can also help improve adhesion and ensure a smooth finish. Choose a primer that is specifically formulated for use on acrylic surfaces and apply it according to the manufacturer’s instructions.
Between each coat of paint, lightly sand the surface with a fine-grit sandpaper. This will help remove any imperfections and create a smoother surface for the next coat of paint.
Removing Excess Paint
If you accidentally apply too much paint or make any mistakes during the painting process, don’t worry! There are ways to correct them.
Using a paint thinner can help dissolve and remove excess paint. Dip a cotton swab or cloth into the paint thinner and gently rub it over the area with excess paint. Be careful not to apply too much pressure to avoid damaging the acrylic.
A paint scraper can also be used to carefully scrape away any excess paint. Use gentle strokes and be cautious not to scratch the acrylic surface.
If you made a mistake, such as smudging the paint or going outside the lines, don’t panic. Let the paint dry completely, and then use a small brush dipped in the same color paint to correct the mistake.
Sealing the Paint
To protect the paint and ensure its longevity, it’s essential to apply a clear coat or a UV-resistant coating to the painted acrylic.
Applying a clear coat will provide a protective layer over the paint, helping to prevent scratches and fading. Choose a clear coat specifically made for acrylic surfaces and apply it according to the manufacturer’s instructions.
If your acrylic painting will be exposed to sunlight or outdoor elements, it’s recommended to apply a UV-resistant coating. This will help protect the paint from fading and damage caused by UV rays.
Curing the Paint
After you have applied the paint and any necessary coatings, it’s time to allow the acrylic to cure.
Air drying is the most common method for acrylic paint to cure. Simply let the painted acrylic sit in a well-ventilated area for the recommended amount of time. This can vary depending on the type of paint and coatings used, so refer to the product instructions for specific curing times.
If you want to speed up the curing process, you can bake the acrylic. Place the painted acrylic in a preheated oven at a low temperature according to the manufacturer’s instructions. This method can help the paint cure faster, but be sure to closely monitor the acrylic to avoid overheating or damage.
Finishing Touches
Once the paint has fully cured, it’s time for the finishing touches on your painted acrylic.
Carefully remove the masking tape from the surrounding areas of the engraving. Peel it off slowly and at a slight angle to avoid any damage to the paint or acrylic surface.
Polishing the acrylic can enhance its appearance and remove any minor imperfections. Use a clean, soft cloth and a gentle polishing compound to buff the acrylic. This will help create a glossy shine and smooth out any rough spots.
If desired, you can add decorative elements to your painted acrylic. This could include embellishments, such as rhinestones or beads, glued onto the surface. Alternatively, you can use a clear drying adhesive to create a 3D effect or add texture to the design.
Maintaining Painted Acrylic
To keep your painted acrylic looking its best, it’s important to properly maintain it.
When cleaning painted acrylic, use mild soap and water or a specialized acrylic cleaner. Avoid using harsh chemicals or abrasive cleaners, as they can damage the paint or acrylic surface.
To prevent scratches or damage, avoid placing sharp or heavy objects directly on the painted acrylic. Use protective coasters or felt pads under items to provide a barrier.
If your painted acrylic will be exposed to direct sunlight, consider placing it away from windows or using UV-resistant coatings for added protection against fading.
By following these steps and techniques, you can successfully paint fill engraved acrylic and create stunning, personalized designs. With proper preparation, paint selection, and application, your painted acrylic will showcase your creativity and add a beautiful touch to any space. Remember to take care of your painted acrylic and enjoy the lasting beauty of your work!