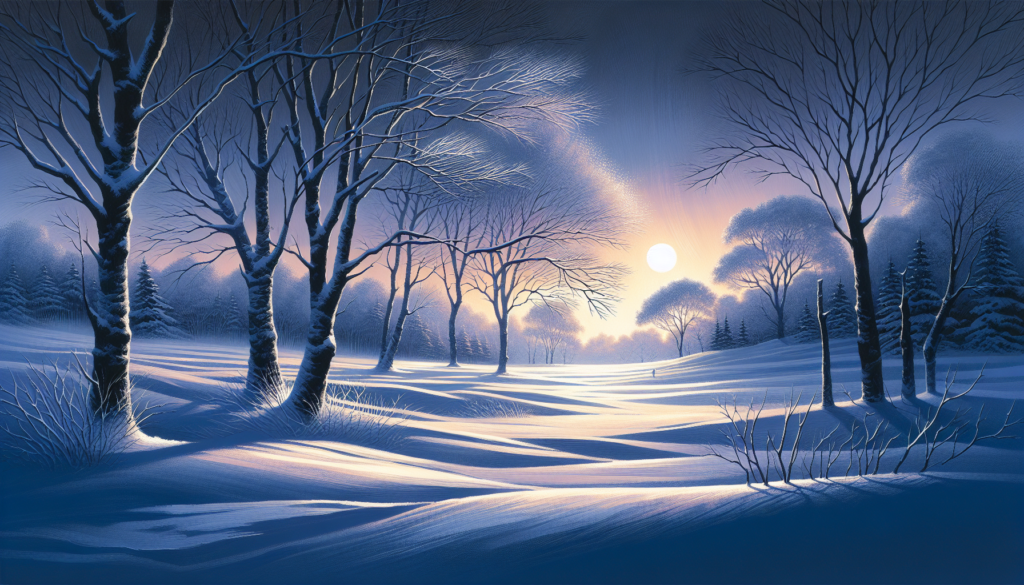
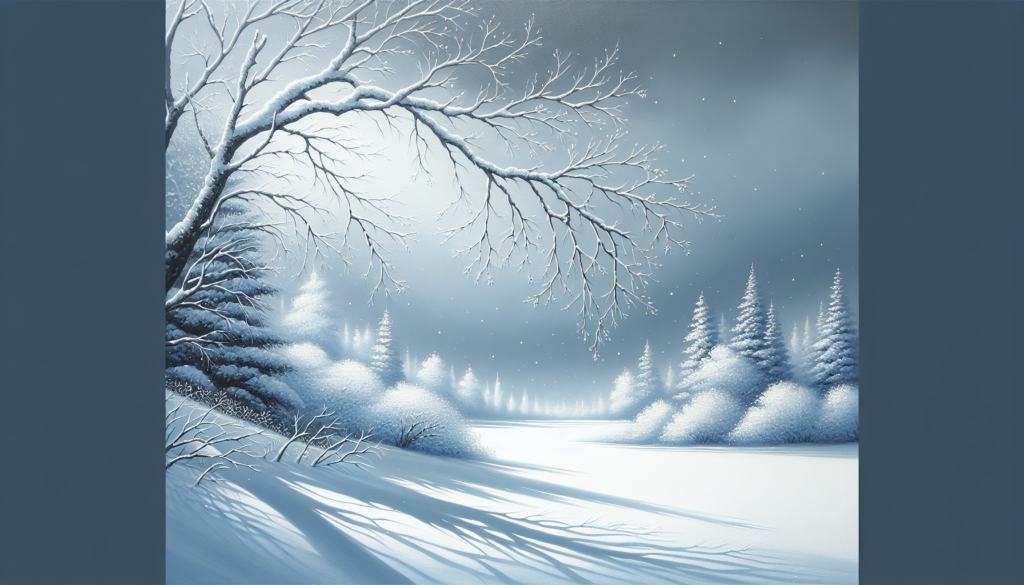
Are you a beginner artist who has always been intrigued by the beauty and simplicity of snow-covered landscapes? Look no further! In this article, we will guide you through the step-by-step process of painting snow with acrylics. From selecting the right colors to creating realistic textures, you’ll learn all the tips and tricks to bring winter wonderland scenes to life on canvas. So grab your paints and brushes, and let’s embark on this artistic journey together!
Materials Needed
To paint snow with acrylics, you will need the following materials:
Acrylic paints
Acrylic paints are versatile and easy to work with. They come in a wide range of colors and are available in both tubes and jars. For painting snow, you will need a few different shades of white, as well as other colors to create shadows and highlights.
Paintbrushes
Invest in a variety of paintbrushes with different shapes and sizes. Flat brushes are great for creating smooth, even strokes, while round brushes are useful for adding details. A fan brush can be used to create texture and blend colors.
Canvas or painting surface
Choose a canvas or painting surface in a size that suits your preference. Consider using a primed canvas for a smooth surface or a canvas board for a more rigid feel.
Palette
A palette is necessary to mix your colors. Choose a palette made of plastic or glass, which is easy to clean and will not absorb the paint.
Water cup
Keep a cup of water nearby to clean your brushes between colors and to thin down the paint if needed.
Palette knife
A palette knife is useful for mixing colors on your palette and creating texture in your snow painting.
Paper towels
Have paper towels or rags on hand to clean your brushes and to wipe excess paint off the palette knife.
Preparation
Before you begin painting snow, it is important to prepare yourself and your materials.
Choose a reference photo
Select a reference photo that inspires you. Look for images of snowy landscapes or scenes that capture the essence of winter. This will guide you while painting and help you visualize the desired outcome.
Sketch the composition
Take a few moments to sketch out the composition of your painting. Decide what elements you want to include, such as trees, buildings, or figures. This will help you plan your painting and ensure a balanced composition.
Prepare the canvas
If you are using a canvas, make sure it is clean and free from any dust or debris. Prime the canvas if necessary, following the manufacturer’s instructions. This will create a smooth surface for your paint to adhere to.
Set up your workspace
Arrange your paints, brushes, and palette in a comfortable and organized manner. Clear any distractions and ensure good lighting in your workspace. This will help you stay focused and enjoy the painting process.

Color Selection
Understanding the color of snow and selecting the right colors are essential for creating a realistic snow painting.
Understand the color of snow
Contrary to popular belief, snow is not simply white. It reflects the colors of its surroundings, such as the blue of the sky or the warm tones of sunlight. Understanding this will enable you to capture the depth and variations within the snow.
Selecting the right colors
For painting snow, a variety of light and cool-toned colors work best. Alongside different shades of white, consider using blues, purples, and even hints of yellow or gray to add depth and dimension.
Mixing different shades of white
To create realistic snow, it is important to mix different shades of white. Pure white may appear flat and unrealistic. Experiment with mixing white with tiny amounts of other colors to achieve a more natural look. Additionally, utilizing different brushstrokes and blending techniques will further enhance the variation in your snow painting.
Basic Techniques
Mastering a few basic techniques will bring your snow painting to life.
Dry brush technique
The dry brush technique involves using a brush with very little paint and dragging it lightly across the surface. This technique is great for creating texture in the snow and capturing the appearance of glistening snowflakes.
Blending and layering
Blending colors together and layering different shades of white will add depth and realism to your snow painting. Use a soft brush and gentle strokes to blend the colors seamlessly. Layering lighter shades over darker ones will create highlights and shadows, making the snow appear more three-dimensional.
Creating different textures
Experiment with different tools and techniques to create various textures in your snow painting. Use a palette knife to scrape and create rough patches, or a fan brush to lightly dab and simulate the softness of snow.
Creating snowflakes
To add a touch of detail to your snow painting, you can paint snowflakes. Use a small round brush and thin white paint to carefully dot the canvas, varying the sizes and patterns of the snowflakes. Be mindful not to overdo it, as the focus should still remain on the overall snowy landscape.

Creating Shadows
Shadows are crucial for creating depth and dimension in your snow painting.
Importance of shadows
Shadows play a significant role in the appearance of snow. They provide contrast, define shapes, and convey the illusion of light. Without shadows, your snow painting may appear flat and two-dimensional.
Mixing shadow colors
When painting shadows in the snow, avoid using pure black. Instead, mix dark blues, purples, or grays with white to create realistic shadow colors. Experiment with different combinations until you achieve a shadow color that complements the overall painting.
Applying shadows to snow
To apply shadows to the snow, use a soft brush and gently layer the shadow color over the areas where the snow meets an object or where there are indentations or crevices. Be mindful of the light source and ensure that the shadows appear consistent throughout the painting.
Highlights and Reflections
Capturing the highlights on the snow and painting reflections will add a sense of realism to your snowscape.
Capturing highlights on snow
Highlights are areas of the snow that capture the light and appear brighter. Use a light hand and a small brush to carefully add highlights to the most prominent areas of the snow. This will create a sense of depth and make the snow appear more realistic.
Creating a sense of depth
To enhance the sense of depth in your painting, consider the direction of the light source. The areas facing the light will have brighter highlights, while areas in shadow will have darker shadows. This interplay of light and shadow will give your snowscape a three-dimensional effect.
Painting reflections in the snow
If your composition includes reflective surfaces, such as a frozen lake or puddles, remember to paint their reflections. Use a similar color palette as the objects being reflected, but slightly darken the color to create the illusion of reflection on the snow.
Adding Details
Adding details will bring your snow painting to life and make it more interesting to observe.
Painting trees and foliage
If your painting includes trees or foliage, use a combination of brushstrokes and techniques to create the appearance of branches, leaves, and texture. Varying the shades of green or brown will add depth and realism to the foliage.
Adding small objects and figures
To enhance the narrative of your snow painting, consider adding small objects or figures. These could be details like a sleigh, a snowman, or even footprints in the snow. These elements will add a sense of scale and intrigue to your painting.
Creating texture in the snow
Experiment with different techniques to create texture in the snow. Use small brushstrokes to depict individual snowflakes or a palette knife to scrape and create rough patches. Combining these techniques will add interest and bring the snow to life.
Finishing Touches
With the major elements in place, it’s time to add the finishing touches to your snow painting.
Adjusting values and contrasts
Stand back from your painting and assess the values and contrasts. Make any necessary adjustments to ensure that the light and shadow are balanced and the painting appears cohesive. Add in any additional details or highlights as needed.
Enhancing the composition
Take a moment to evaluate the composition of your snow painting. Ensure that the placement of objects and the flow of the painting are harmonious. Consider cropping or adjusting elements if necessary to achieve a more balanced composition.
Sign and seal the painting
Once you are satisfied with your snow painting, sign your name in a discreet corner of the canvas. This adds a personal touch and marks the completion of your artwork. Consider sealing the painting with a varnish to protect and enhance its longevity.
Troubleshooting
While painting snow with acrylics, it’s common to encounter certain challenges. Here are some common mistakes to avoid and tips to help you improve your snow paintings.
Common mistakes to avoid
- Overusing pure white: Remember that snow reflects its surroundings, so avoid using pure white excessively.
- Lack of depth: Ensure that your painting has enough contrast and variation in colors to create depth and dimension.
- Uneven blending: Take your time to blend colors seamlessly, using gentle strokes and a soft brush.
Tips to improve your snow paintings
- Study reference photos: Observe how light interacts with snow in photographs to gain a better understanding of its appearance.
- Experiment with textures: Use different tools and techniques to create various textures in the snow, adding interest to your painting.
- Practice with different light sources: Paint the snow under various lighting conditions to understand how different light sources affect the appearance of snow.
Conclusion
Painting snow with acrylics can be a delightful and rewarding experience for beginners. By understanding the color of snow, selecting the right colors, and mastering basic techniques, you can create beautiful snowscapes with depth and realism. Embrace the beauty of painting snow and continue to grow and improve your skills in capturing the enchantment of winter landscapes.